We discussed this on the chat and Christian also chimed in, saying that we really need gradients and curves as first class citizens and that FUSE is also hindered by their absence.
I want to emphasize that here so it isn’t lost in the chatter.
Again, coming from Houdini and working through Genuary, the two entities I miss the most are gradients and curves with multiple stops and variable interpolation and distances.
On the chat, there was on one hand ways to do it via shaders with spreads as input and on the other hand using Affinity Photo or something like that to create them and then load as texture.
These are okay workarounds, but IMO these are core features of a visual software, so while we can improvise around the lack, for fluid working, they are needed dearly.
I use both of them here on a generative structure made out of strands (lines/splines) with half a million primitives.
The curve editor defines the thickness along the length of the curve via the small line of code in the "Point Wrangle) editor above, so the line:
f@pscale = f@width = chramp('Width_Curve', @uv.x) * ch('Base_Width');
is creating two attributes on the curves, f@pscale and f@width (one needed for the viewport the other for rendering) “f” means float and “@” means attribute as opposed to an on-the-fly variable.
Attributes are written onto the mesh itself.
“chramp” defines the complete spline editor, and I give it a name that shows up in the GUI and a value to sample, in this case the attribute @uv.x, which in the case of lines is the length along the curve.
This is all there is to it, I hit one button and the editor is created from this line.
I also create a fader with the ch() command, which creates a floating point value at default 0-1 that I use to set a base width range.
So with this, I can now finetune the thickness of the spline in detail, can have as many points as I need, a different curve interpolation per point, can make the editor larger (fullscreen if I want) and zoom in etc.
In the context of time, this in itself is a small timeline that can be driven by anything I want.
I don’t think I ever did anything in Houdini that didn’t have one or many curves in it.
For the gradient, it is basically the same:
@Cd = vector(chramp('Gradient', @falloff));
@Cd is the default diffuse colour, so I don’t have to declare it’s type. Notice that I use the same chramp() command again, but define it as a vector, which tells Houdini that I want a colour gradient (I can also switch this in the Parameter Interface Editor afterwards). This time I sample through another attribute “@falloff” that I created on the points previously.
And this again creates at the click of one button a complex gradient editor, that can have as many colours as needed, has different interpolation modes, can be reordered at will and can also be animated per colour pad.
And we can finally get rid of yet-another-hue-animation… ;-)
And here there are no textures involved but they are more like many of the tools in FUSE which are computed/sampled on the fly.
So yeah, down from my soapbox, I know everybody is hellish busy, but again, I think tools like this make a graphic oriented software shine and intuitive to use, especially for new users, but also are extremely effective for old hands. (Tooll3 has a nice implementation with imgui/C# and Alpha if you want to take a peek ;-) ).

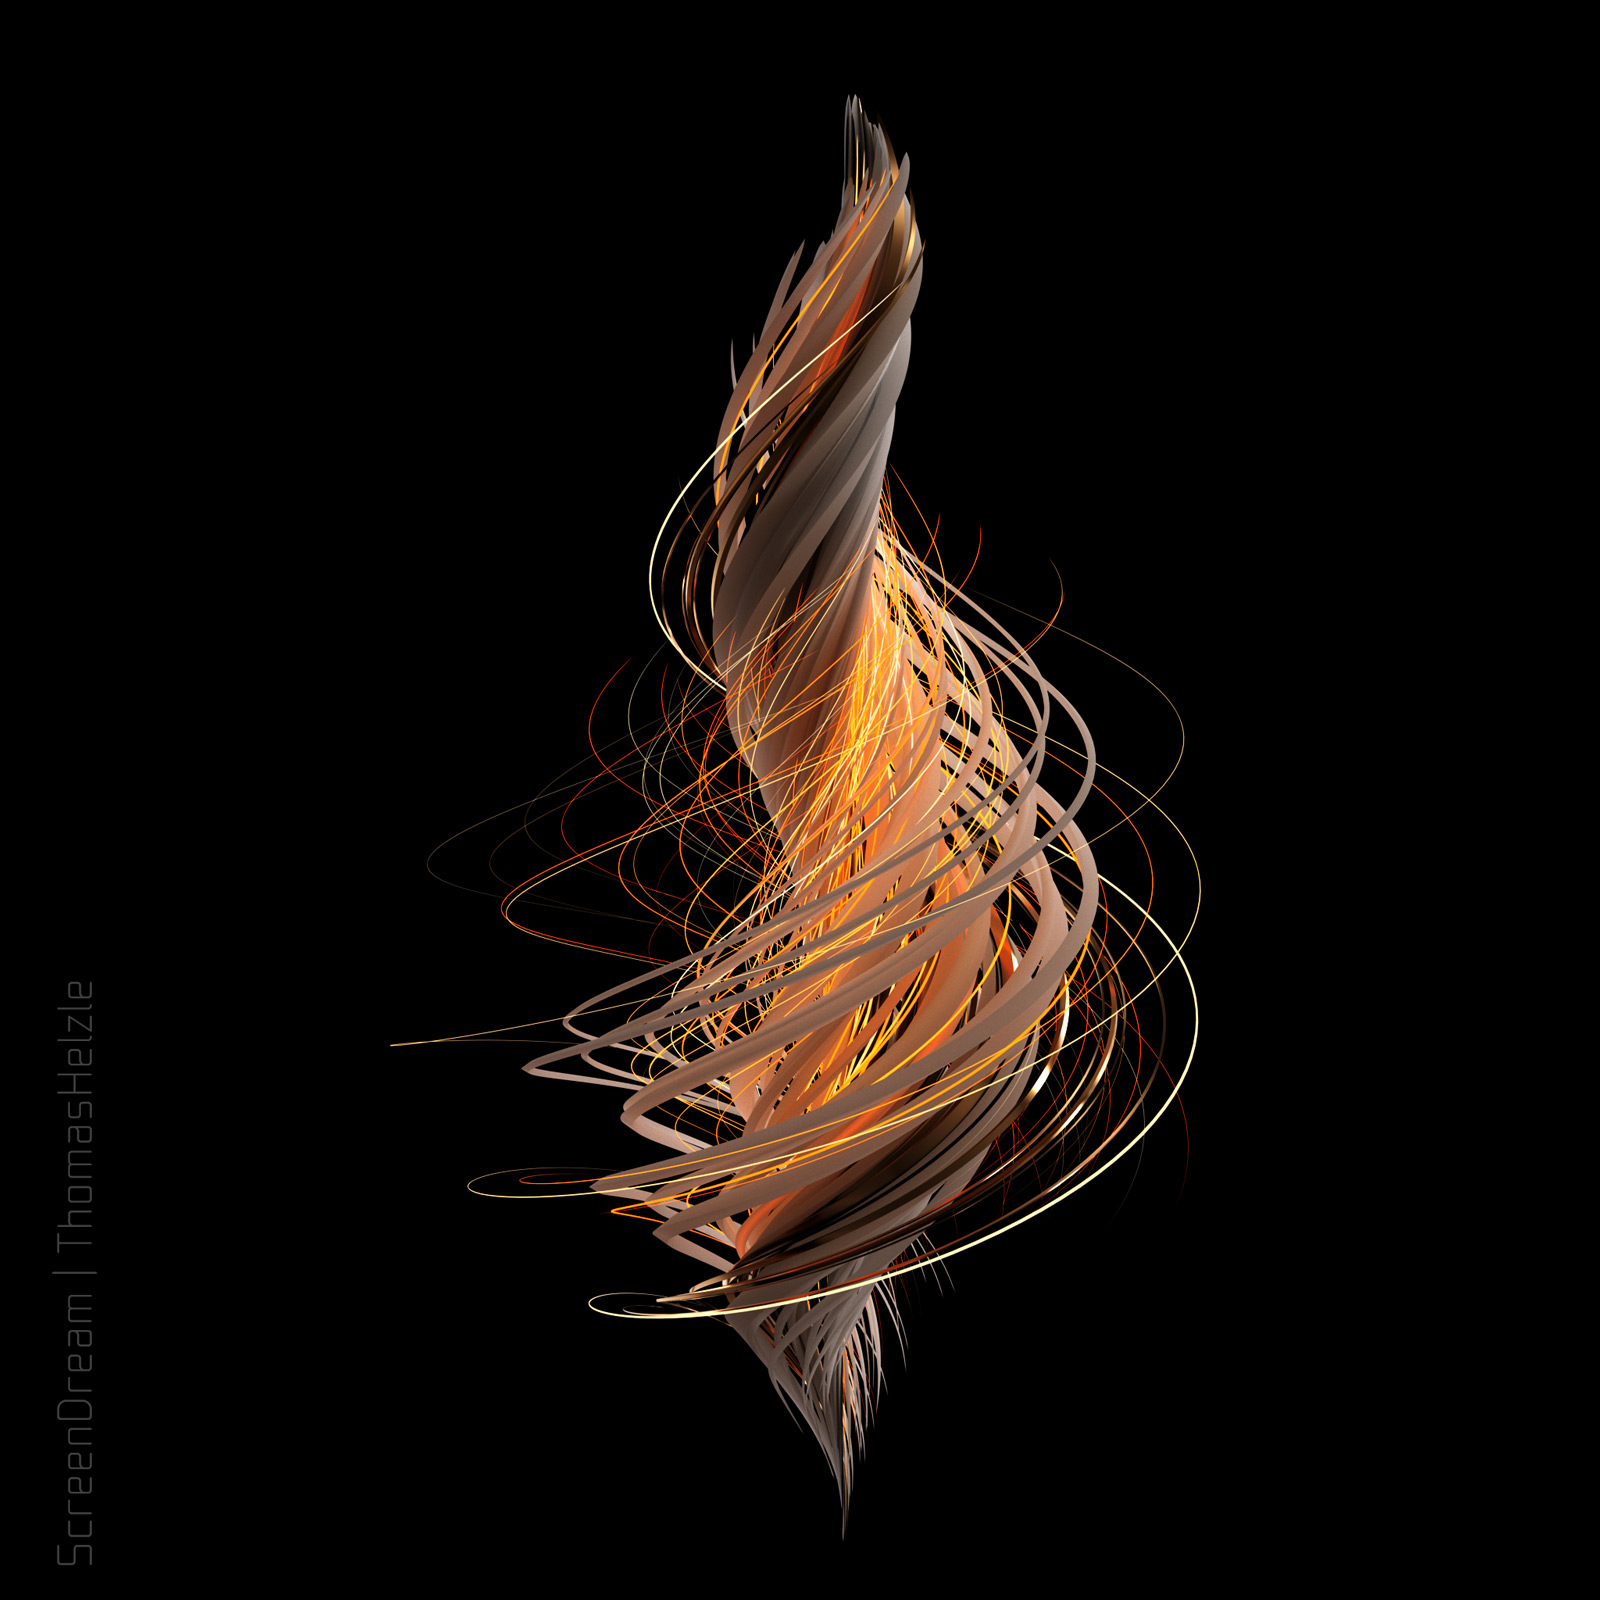
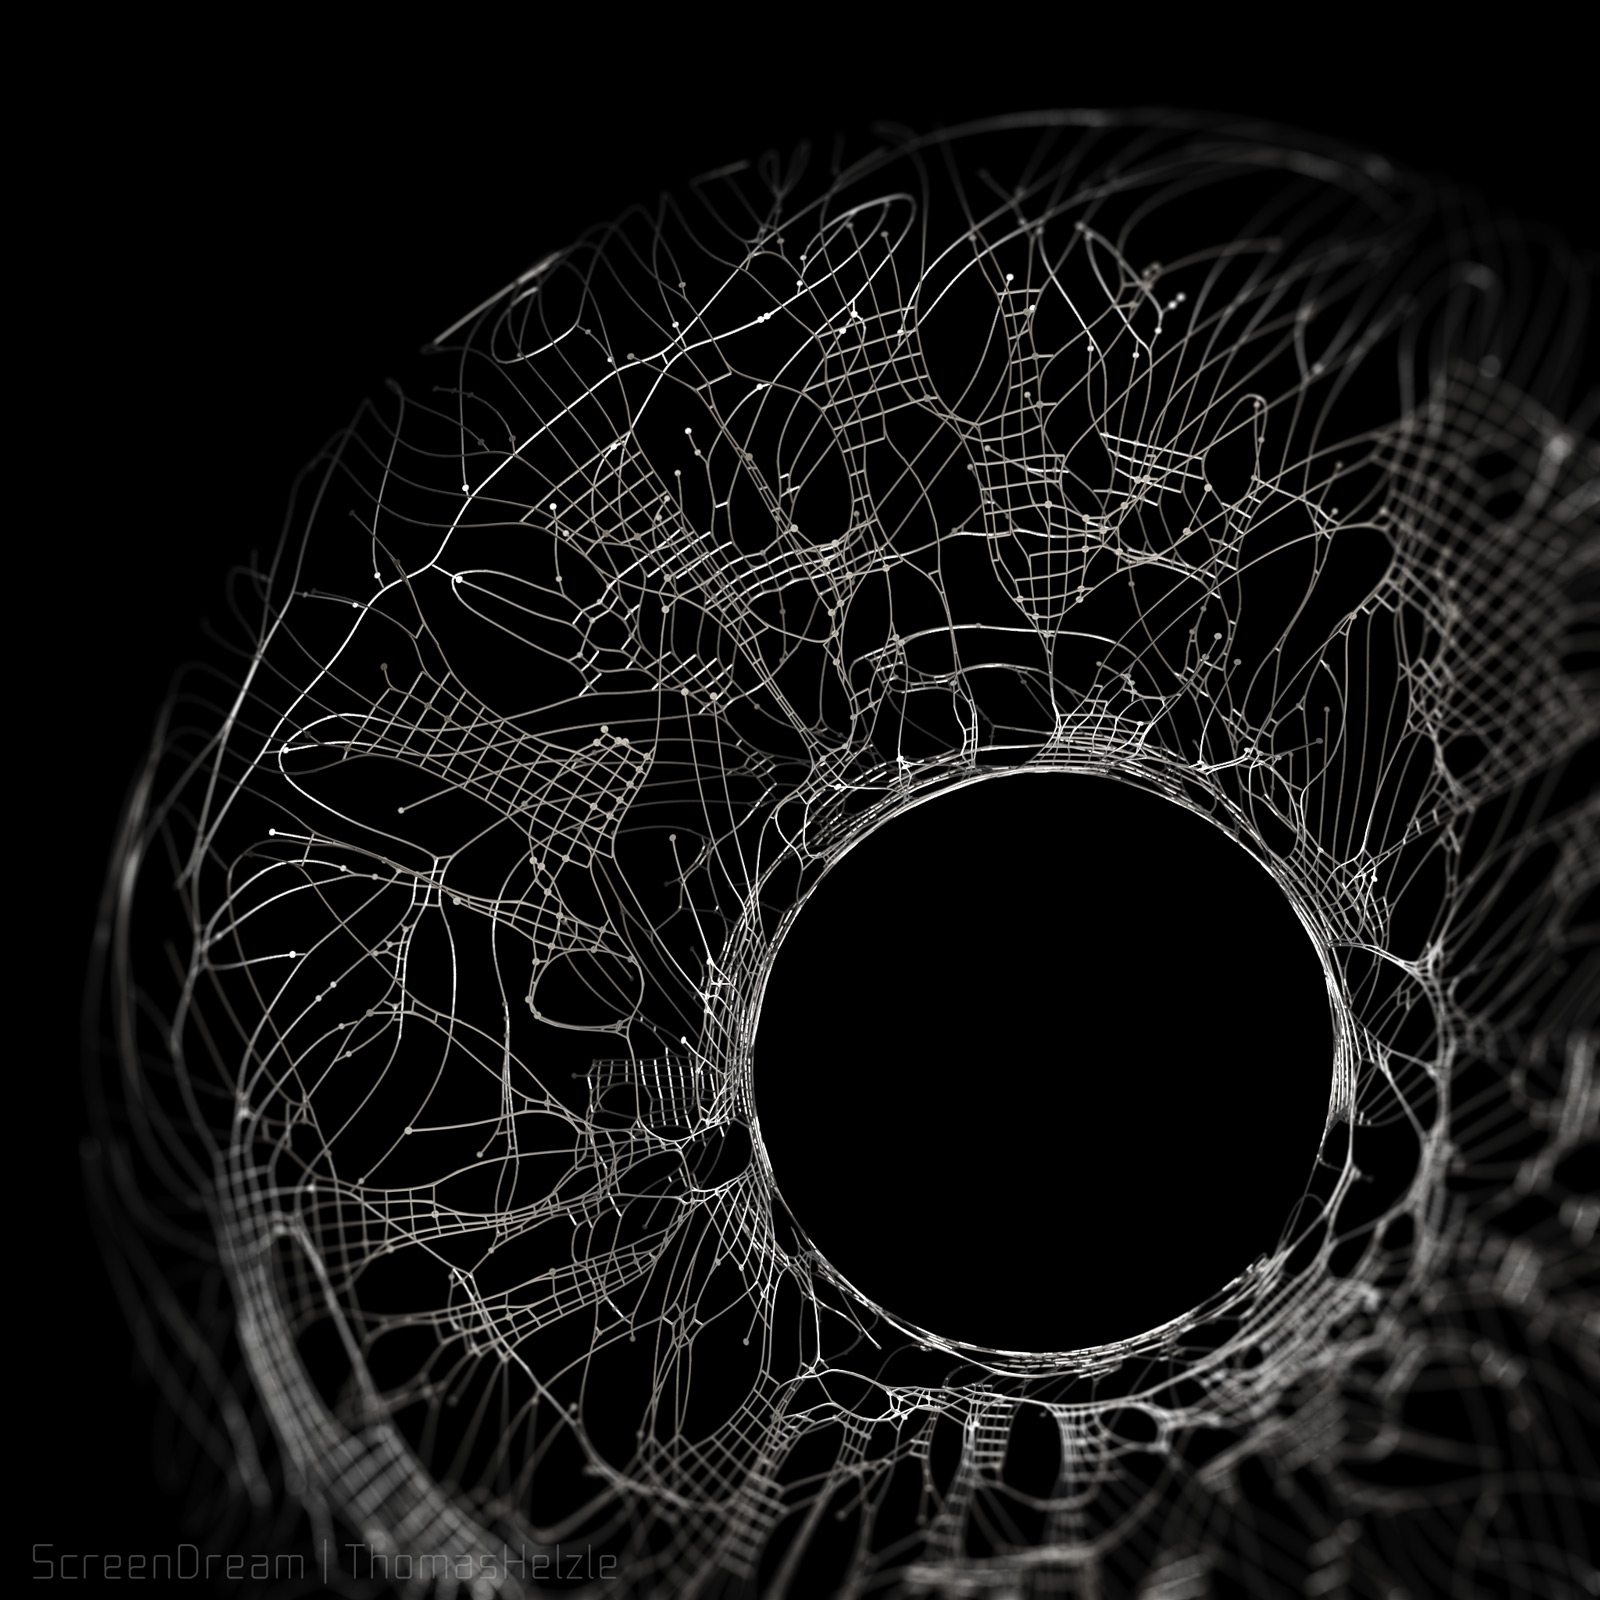
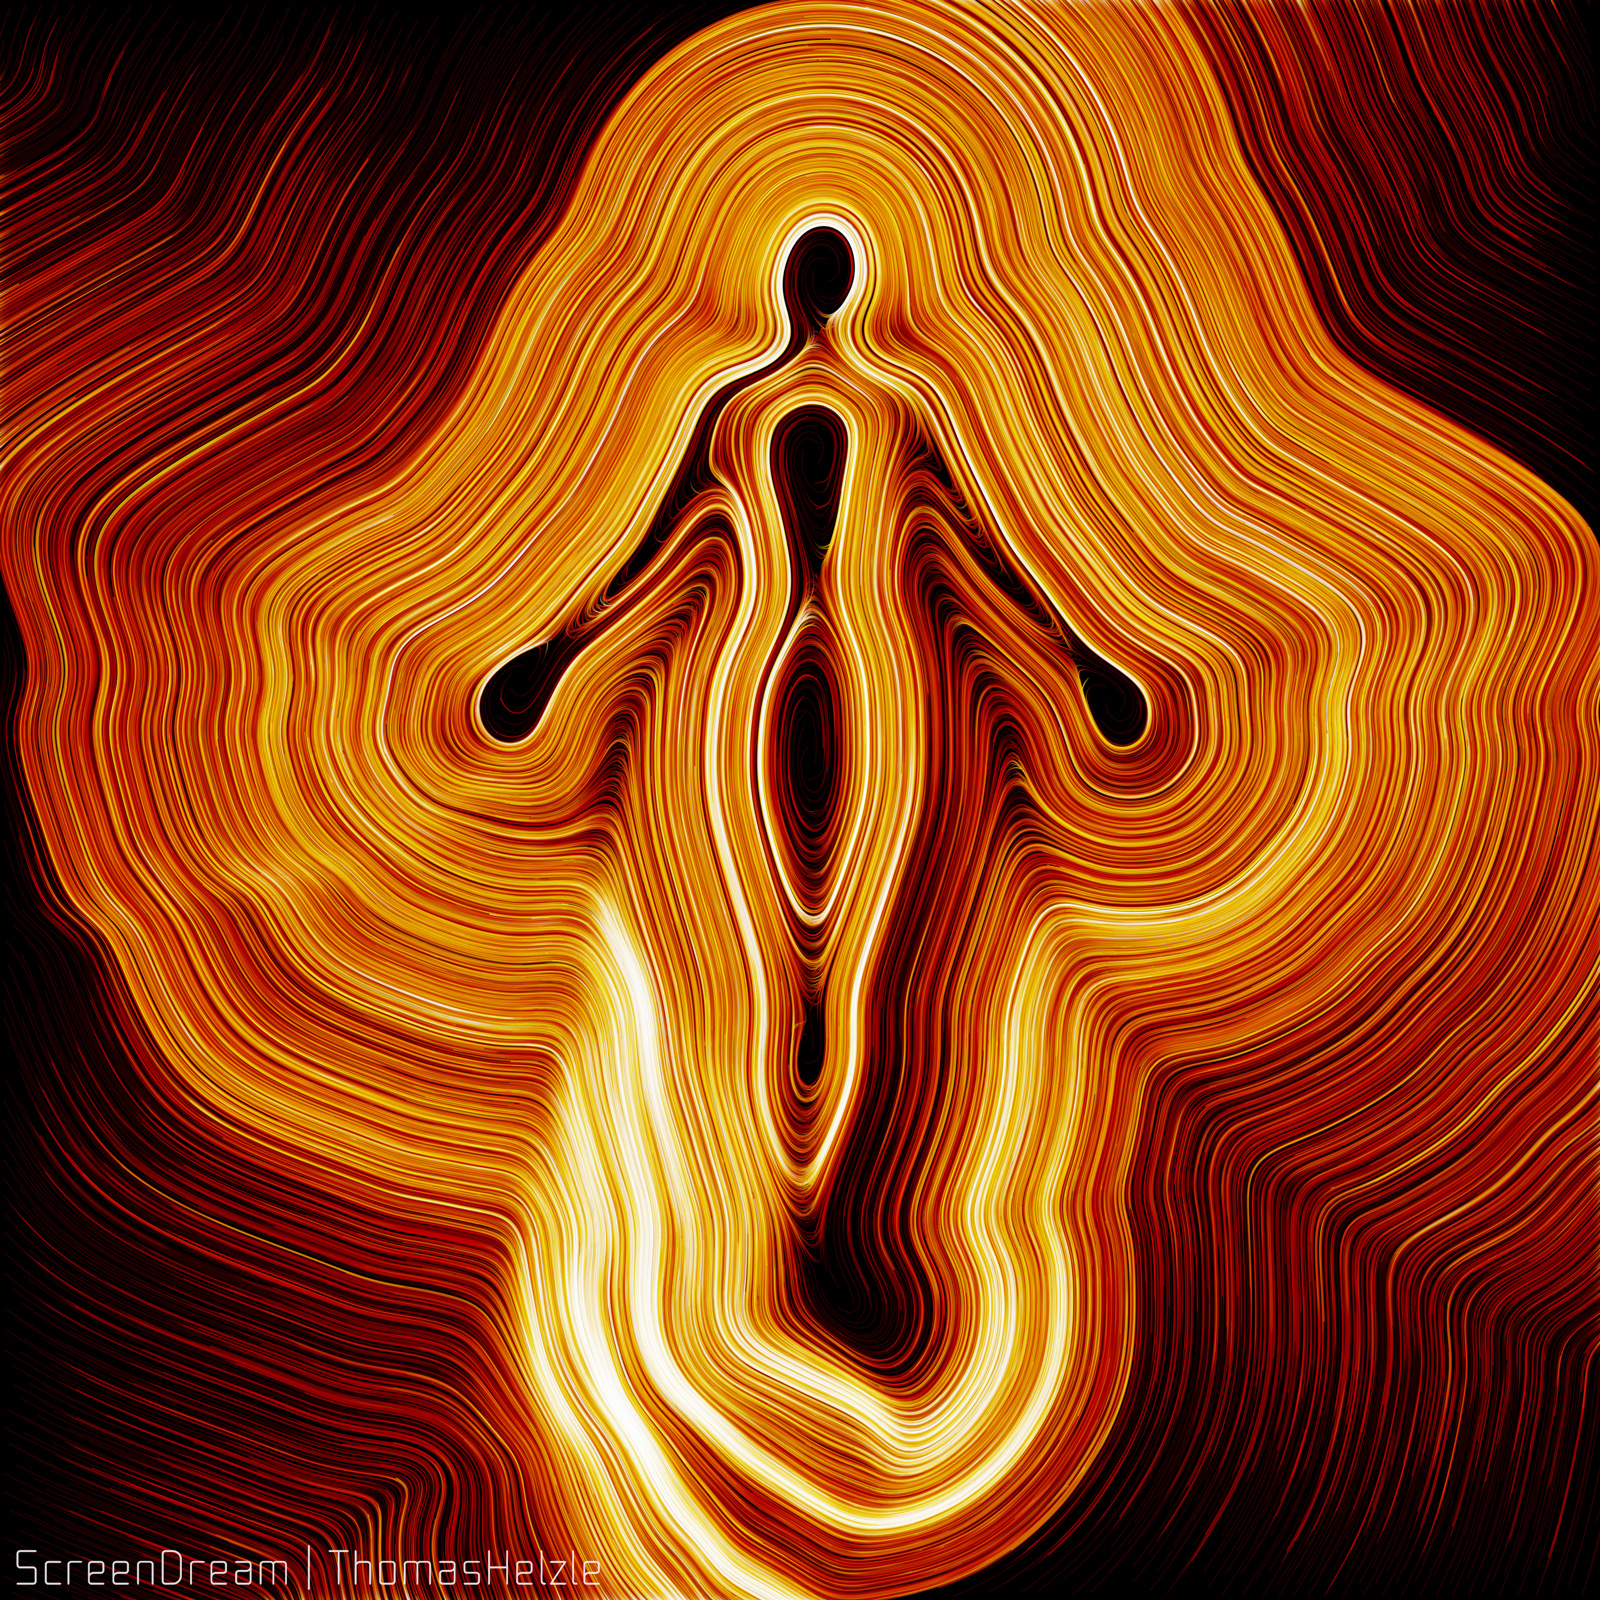
All of those use both above tools to create nuance and detail.
Cheers,
Tom